How I Resize Photos in Photoshop Without Losing Quality
I’ll show you two easy ways to resize images in Photoshop, one by scaling directly, and the other using smart objects to maintain sharp and clean quality.

I originally wrote this as a response on Quora, but I thought it was worth sharing here as well. It made sense to repost it so more people can benefit from it, and also to keep things flowing naturally between posts.
Now, I know not all photo editing software works the same way. Numerous tools and methods are available for accomplishing the task. However, since I’m using Photoshop, I’ll walk you through how I utilize its built-in functions to upscale images without compromising quality.
There are two methods I like the most, and I’ll show you both. The first one is pretty straightforward—it’s just a way to scale up the canvas you’re already working on.
The second method involves using smart objects, which provide you with more control when resizing, especially when working with large files.
Alright, let’s open up Photoshop and try both methods step by step.
First Method:
It is the photograph that I'll use to demonstrate the procedures.

Source: Pexels
To change the size or resolution of our photo, all we have to do is go to Image and down here to Image size (Ctrl+Alt+I)
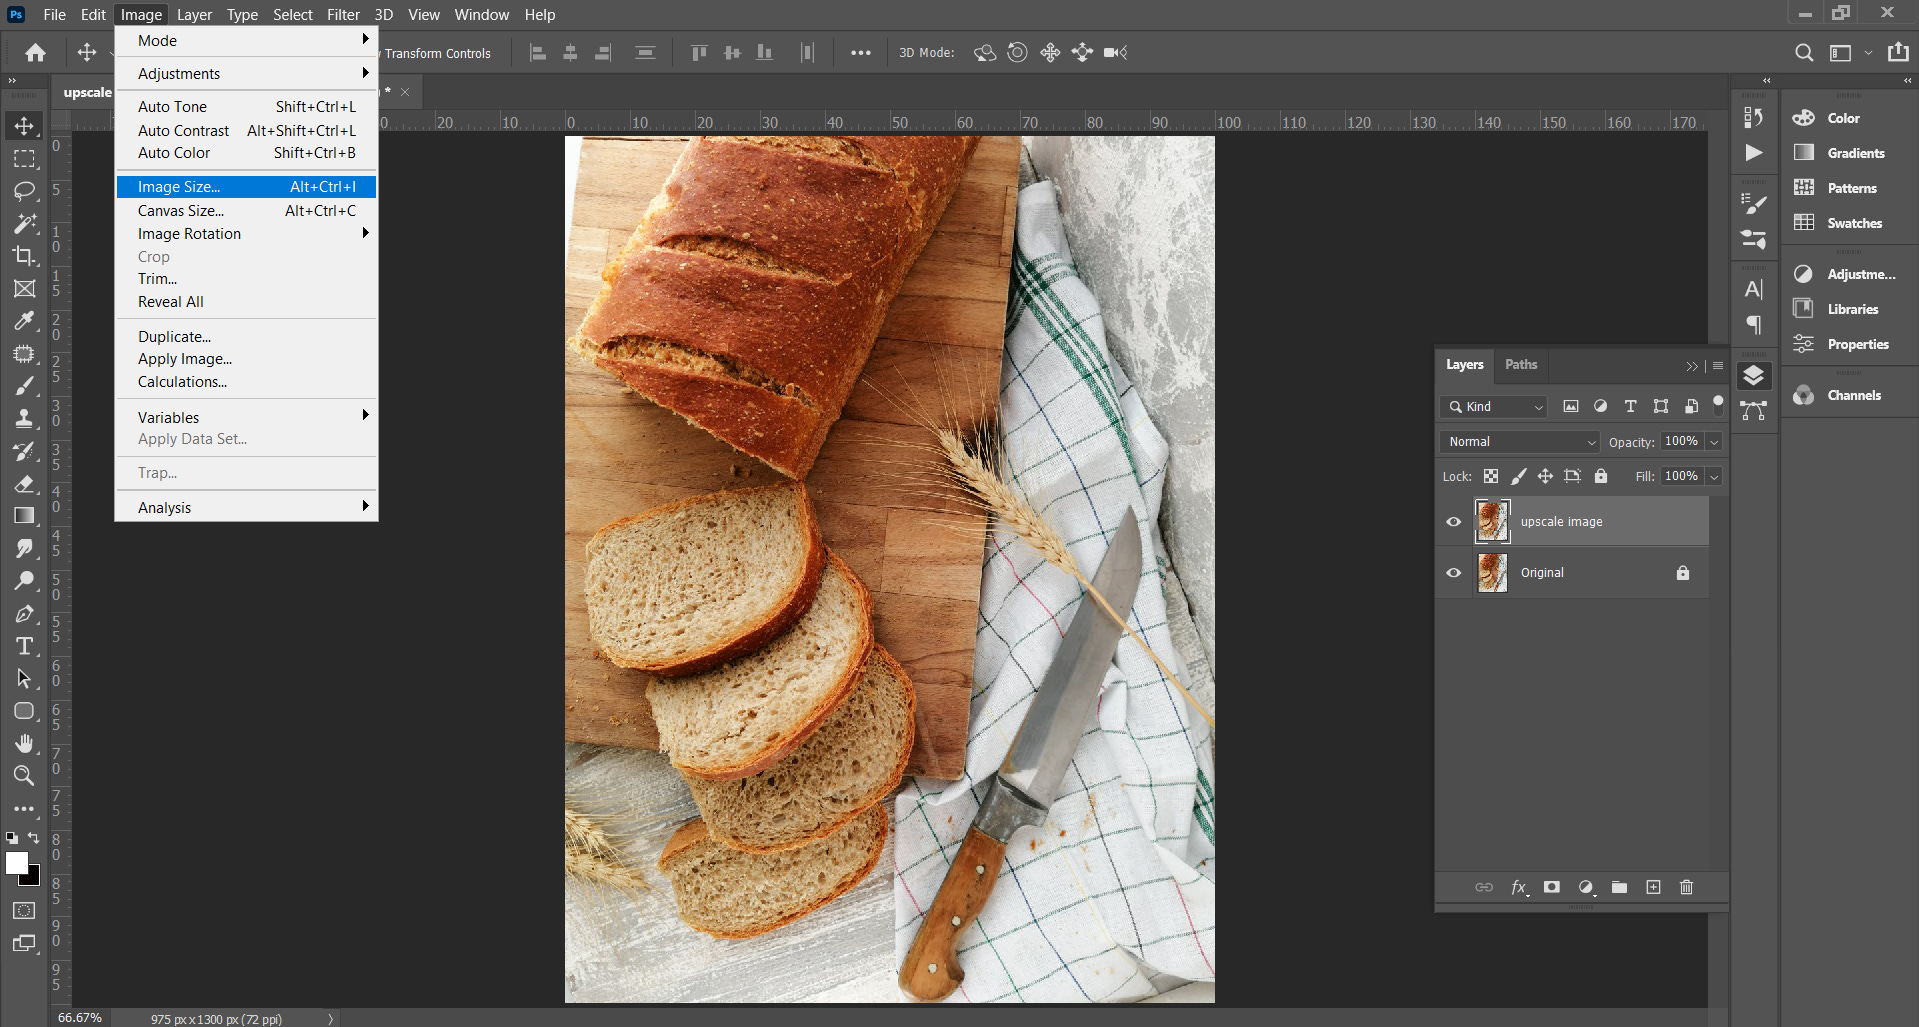
A new dialog box will appear here

where we can change the width and height of our photo and the resolution; in this case, I want to double the resolution.
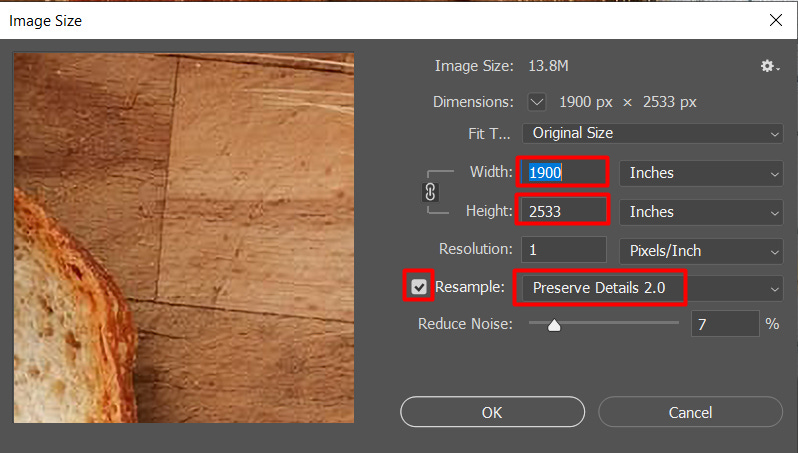
I'm simply going to enter 1900 pixels per inch and then confirm that Include Preserve Details 2.0 is selected, and that resample is set to automatic. Thus, despite its doubling in size, this will help preserve those subtleties.
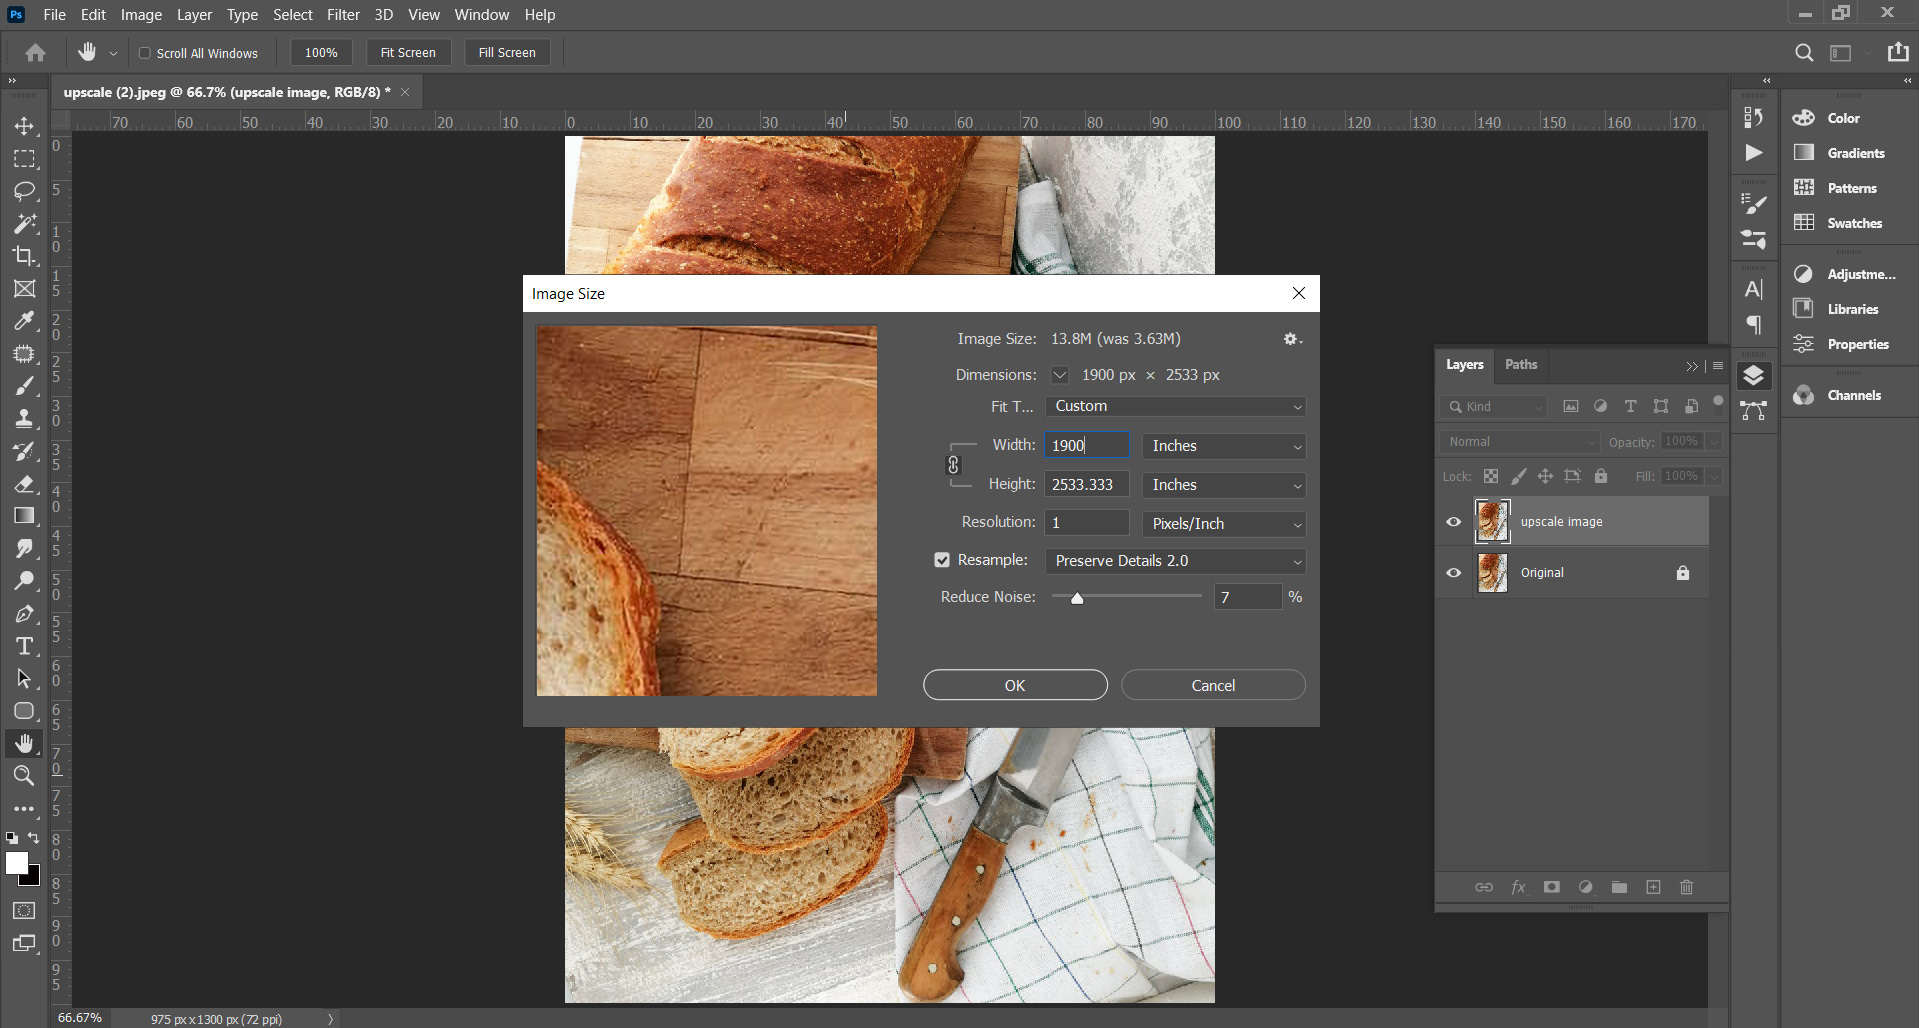
From there, I'll click OK, and Photoshop will perform its magic. As you can see, the shot remains highly crisp and of excellent quality, just as it was before.
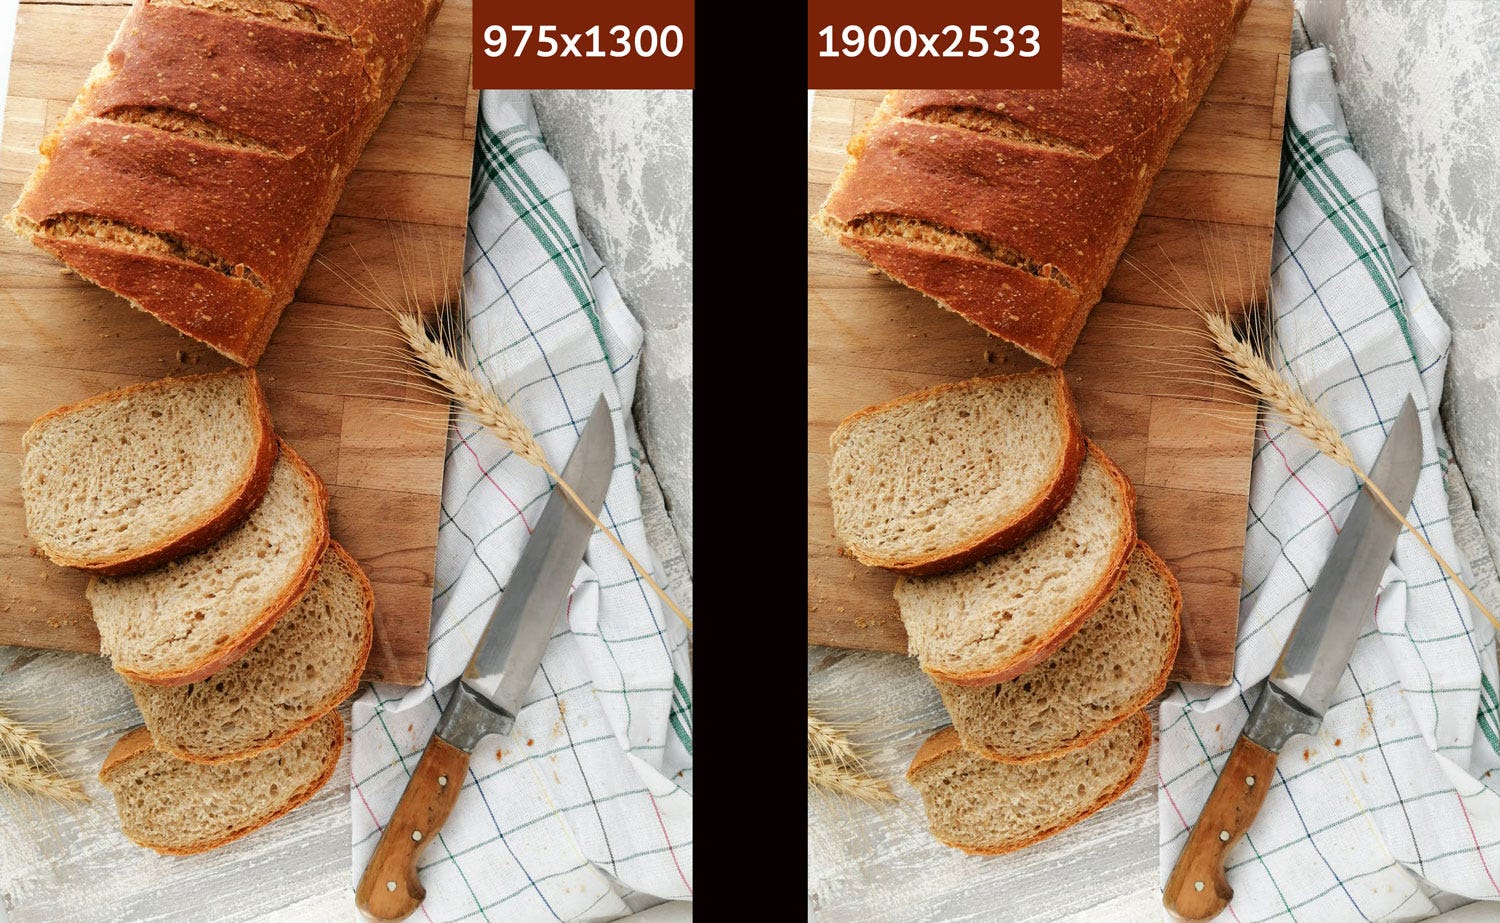
We doubled the resolution by increasing the pixels per inch setting; this is the simplest method for rescaling a photograph without sacrificing quality!
Second Method:
Let's talk about the second method, it's calledthe Smart Object Method:
This time, I'll illustrate the techniques using another photo.

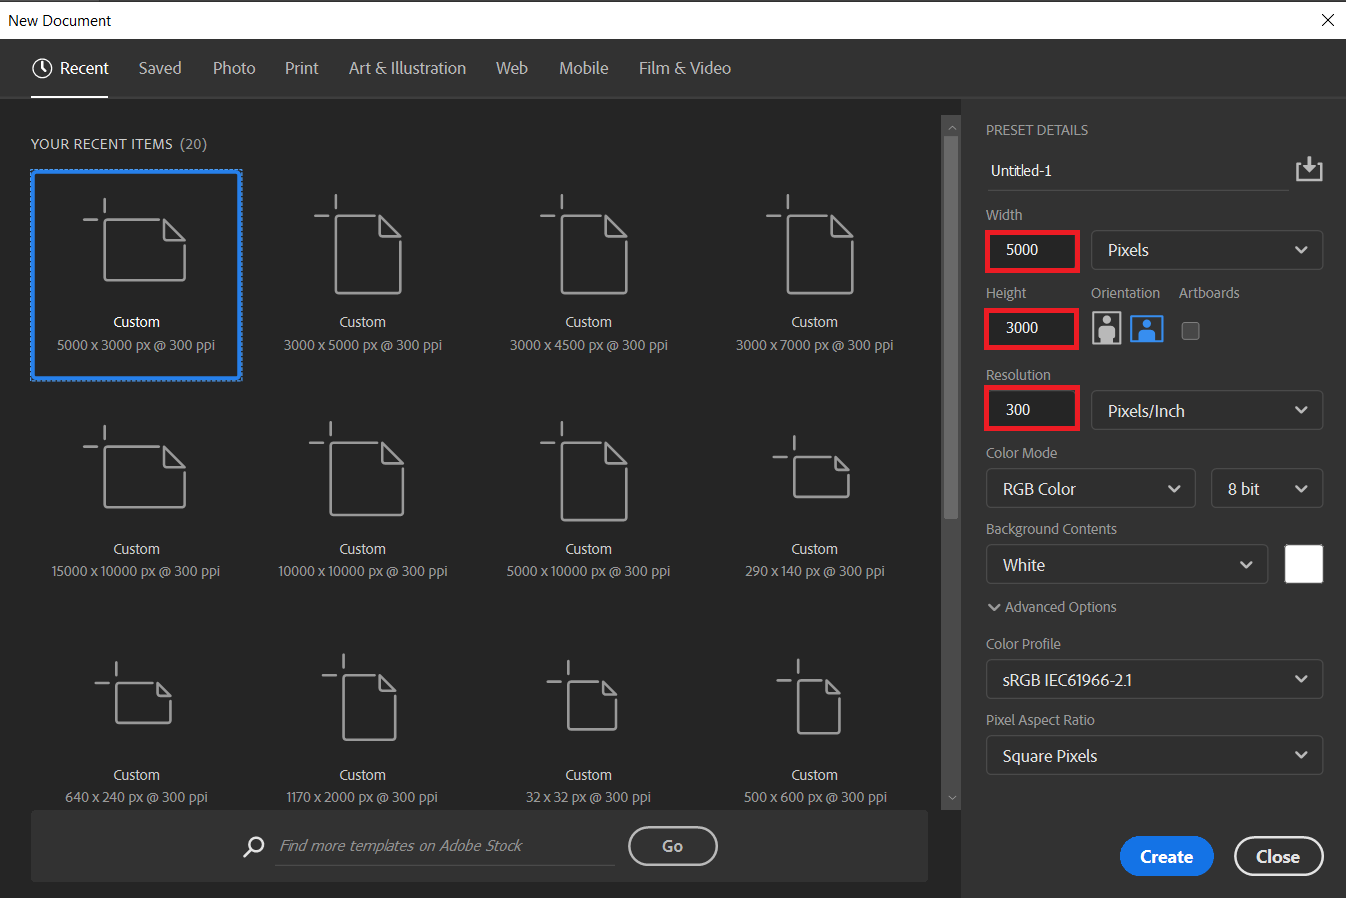
First, I want to create a new document with a higher quality (5000 by 3000-pixel picture at a 300 pixels per centimeter resolution) that is oriented differently from our present photo.
Now, I've replaced my original Image with a smart object.
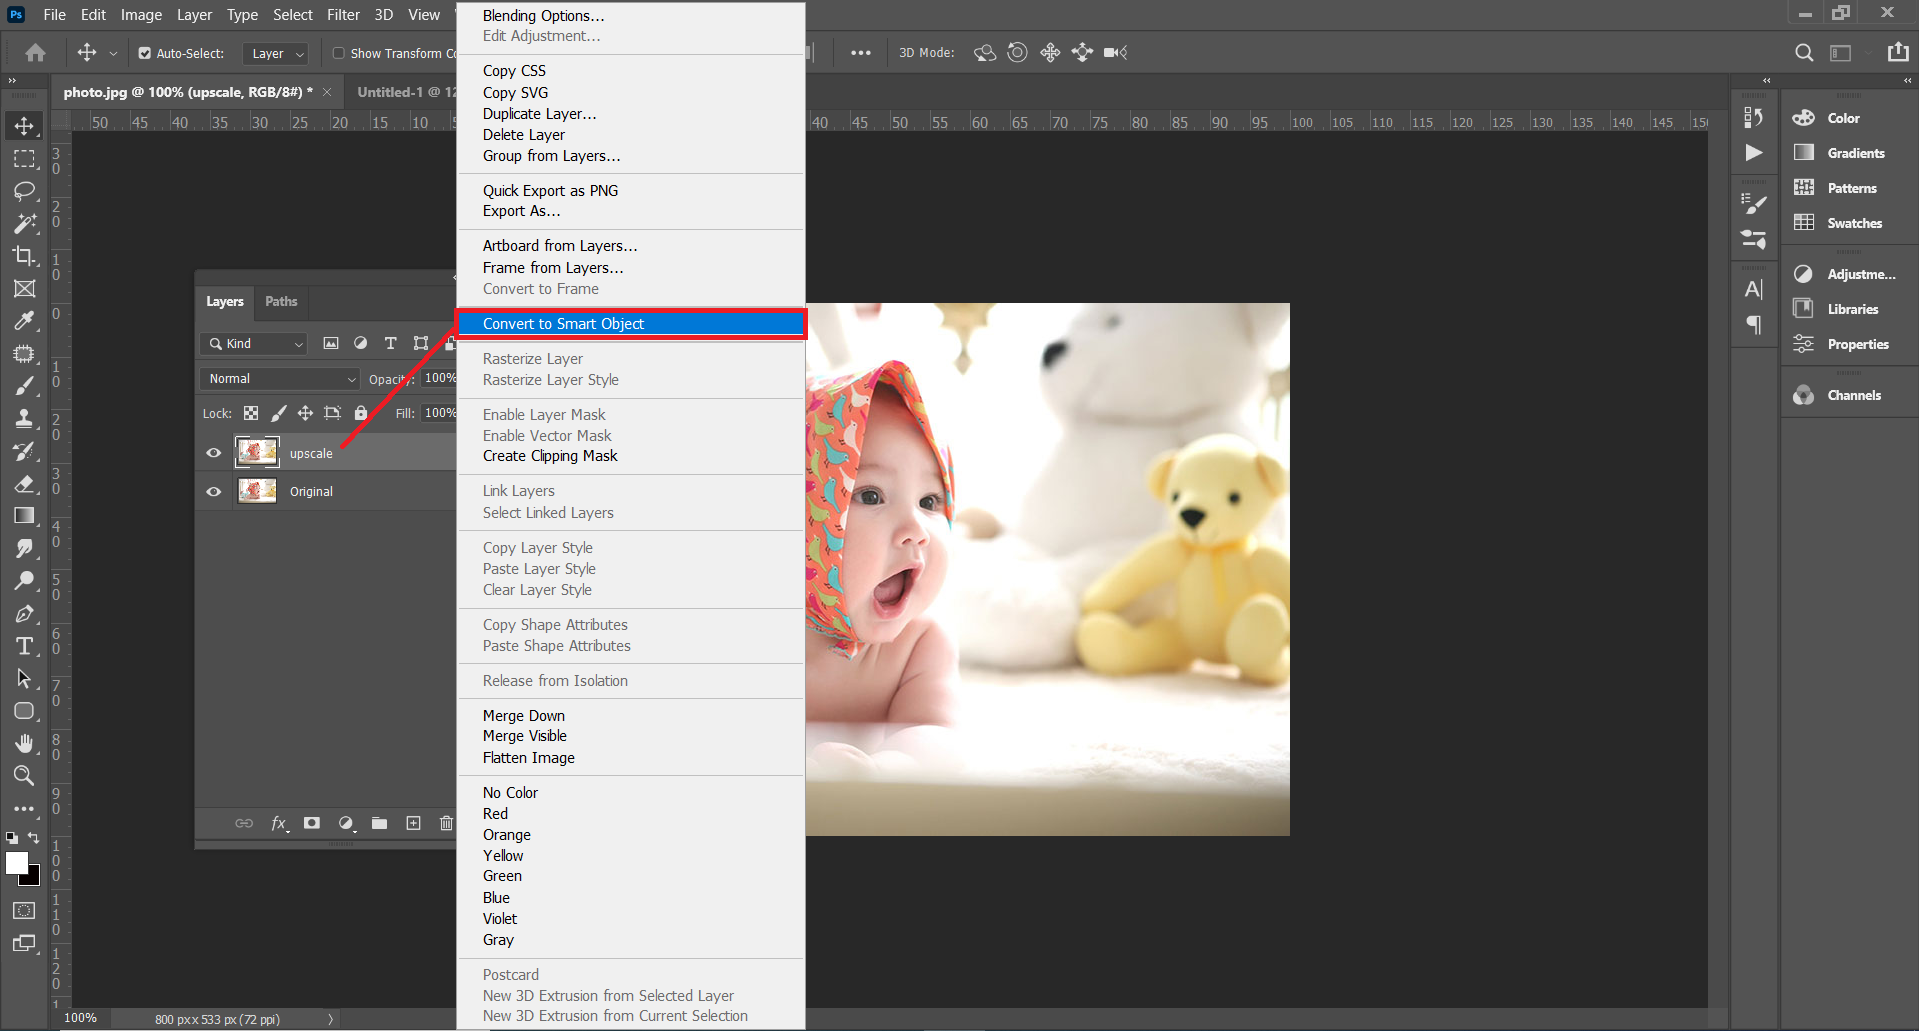
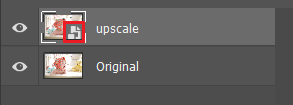
What a smart object does is wrap your layer in a container so that you're never editing the layer directly; instead, you're editing the container. When you rescale the container, you're not changing the dimensions or anything else about the photo; instead, you're changing the container in which it's contained, ensuring that the photograph always retains its original high resolution.
Now, I will pick this layer with my move tool and click and drag it up and over into my new project.
After dragging, we can now resize it and place it inside our new document on a higher-quality document with a bigger canvas size in a different orientation!
As you can see, there is no degradation in photo quality even though we have rescaled our Image and moved it to a higher resolution document with a bigger canvas size and a new orientation, all of which would normally degrade the Image's quality.
Many thanks for taking the time to read my contribution.
I have found lot of ways to resize images. Some of them work and some of them work very poorly. But this here is a brilliant idea and I'm wondering why I couldn't think of this. Many thanks!